
Getting started
Take one request from a connected source through AI preparation to a reviewed result.
What you will accomplish
You will capture one request, ask an AI assistant to prepare an answer, and check the result in Seflo. Use a non-sensitive request for your first attempt, such as preparing a short customer follow-up.
Have your Seflo account, one source account and your preferred AI client ready. The example uses ChatGPT; other AI clients follow the same task workflow. The recordings use an existing demo installation of the Gmail add-on and Seflo in ChatGPT. Public catalog installation has not yet been verified; check the availability notes in each setup guide.
Sign in
Open app.seflo.ai and choose Continue with Google or Continue with Microsoft. If you use email and password, use the email sign-in form. Return with the same account so you see the same workspace.
Guided tutorial
The Getting started tutorial shows one step at a time: choose and connect a source, use your own task or create the prepared workbook example, import it, choose and connect an AI assistant, then copy its task-specific prompt. It skips preparation already completed and waits for the source and imported task before continuing. See the guided tutorial for all eight steps, result review and recovery.
Connect one source
- Open Sources, then Add source.
- Choose the service that contains your request. Follow its connection guide to sign in and select what comes into Seflo.
- Capture one request using the source's Send to Seflo action, or select one of your imported assigned tasks.
- Open that task in Seflo. Check the source conversation and any attachments before continuing.
Start with Outlook, Gmail, Teams or the source you already use. Each guide explains how its first task is created.
Try the spreadsheet example
For a concrete first result, download the sample launch budget. It contains fictional figures and a blank Result column. Send it between test mailboxes you control with this request, then capture the email using the Gmail guide:
Fill Result as Revenue minus Expenses for each month.
Preserve the original figures and formatting. Check the calculations,
then prepare a reply with launch-budget-completed.xlsx attached.
Do not send the reply until I review it.
The expected results are November 300, December 700, and January 1,150. Inspect the formulas in the downloaded output as well as these values. Use your own task code when asking the assistant to work.
Create your first task
You can also try the workflow without a source:
- Choose New task.
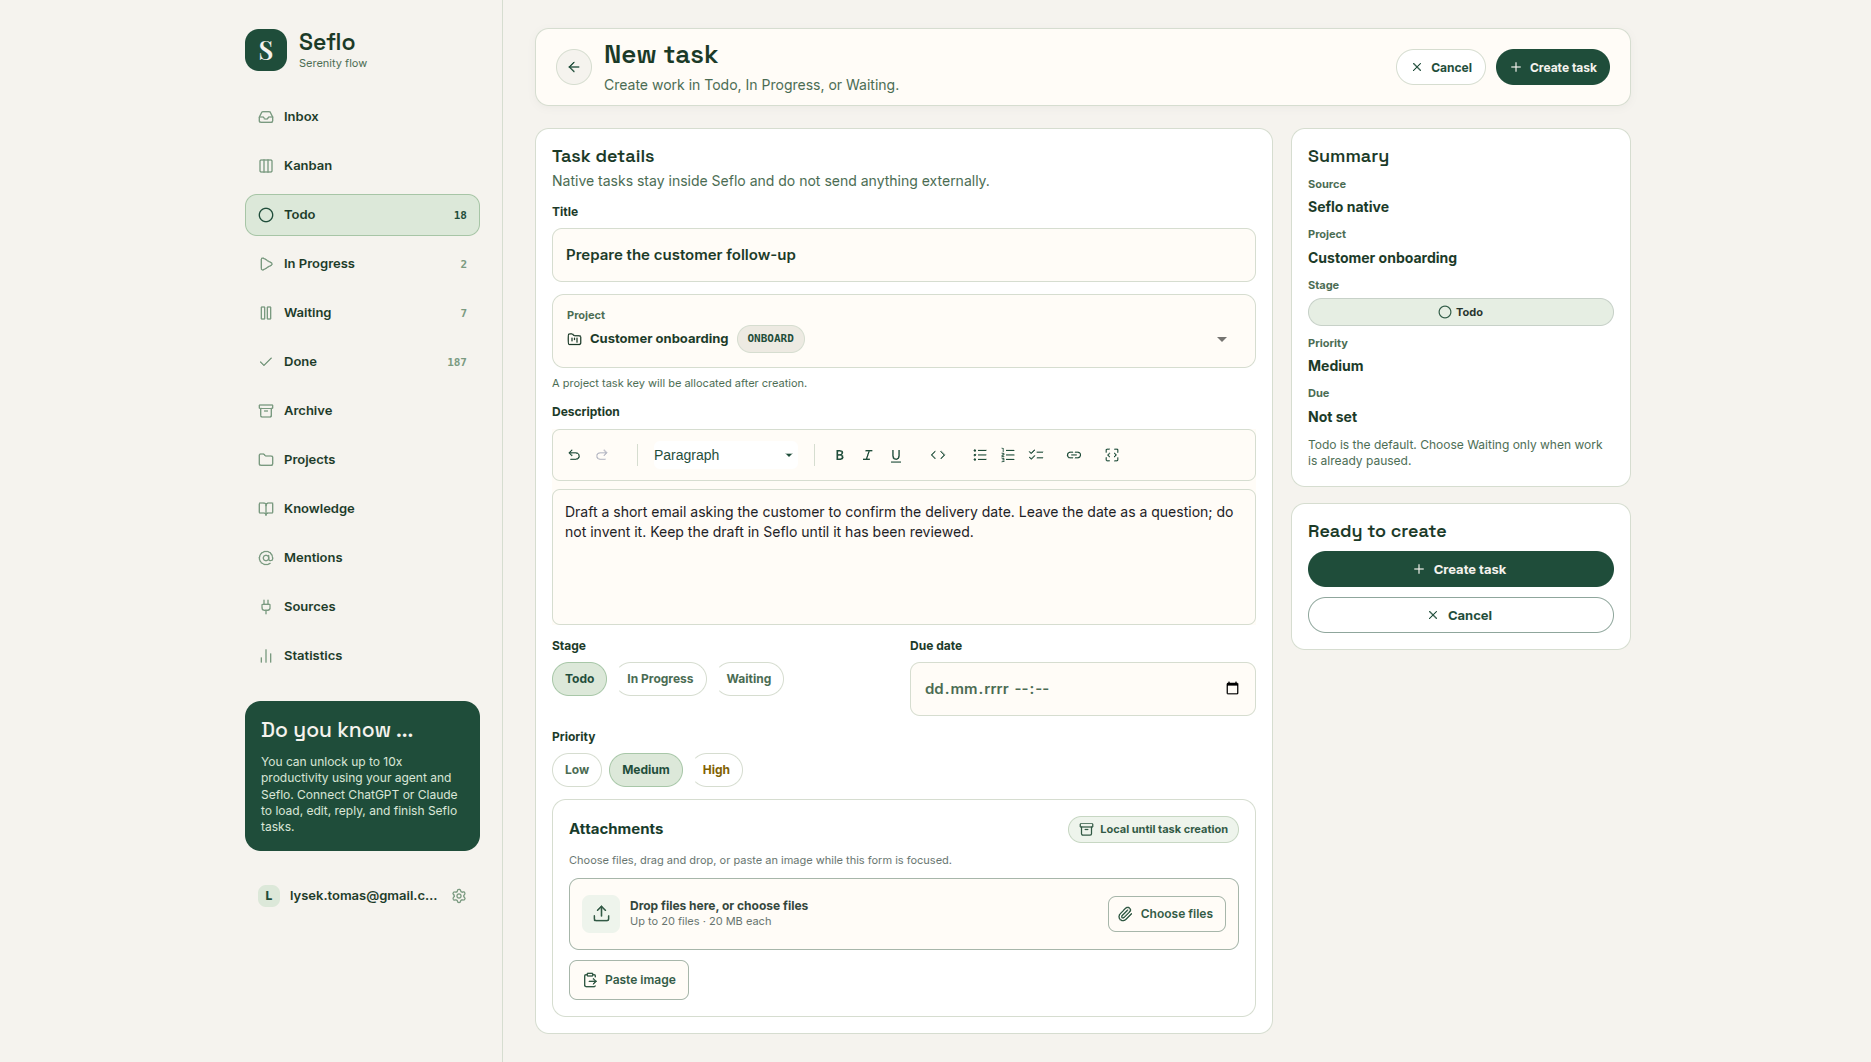
- Enter Prepare the customer follow-up as the Title.
- In Description, write: “Draft a short email asking the customer to confirm the delivery date. Leave the date as a question; do not invent it.”
- Leave Stage at Todo and Priority at Medium. Add a Due date only if you need one.
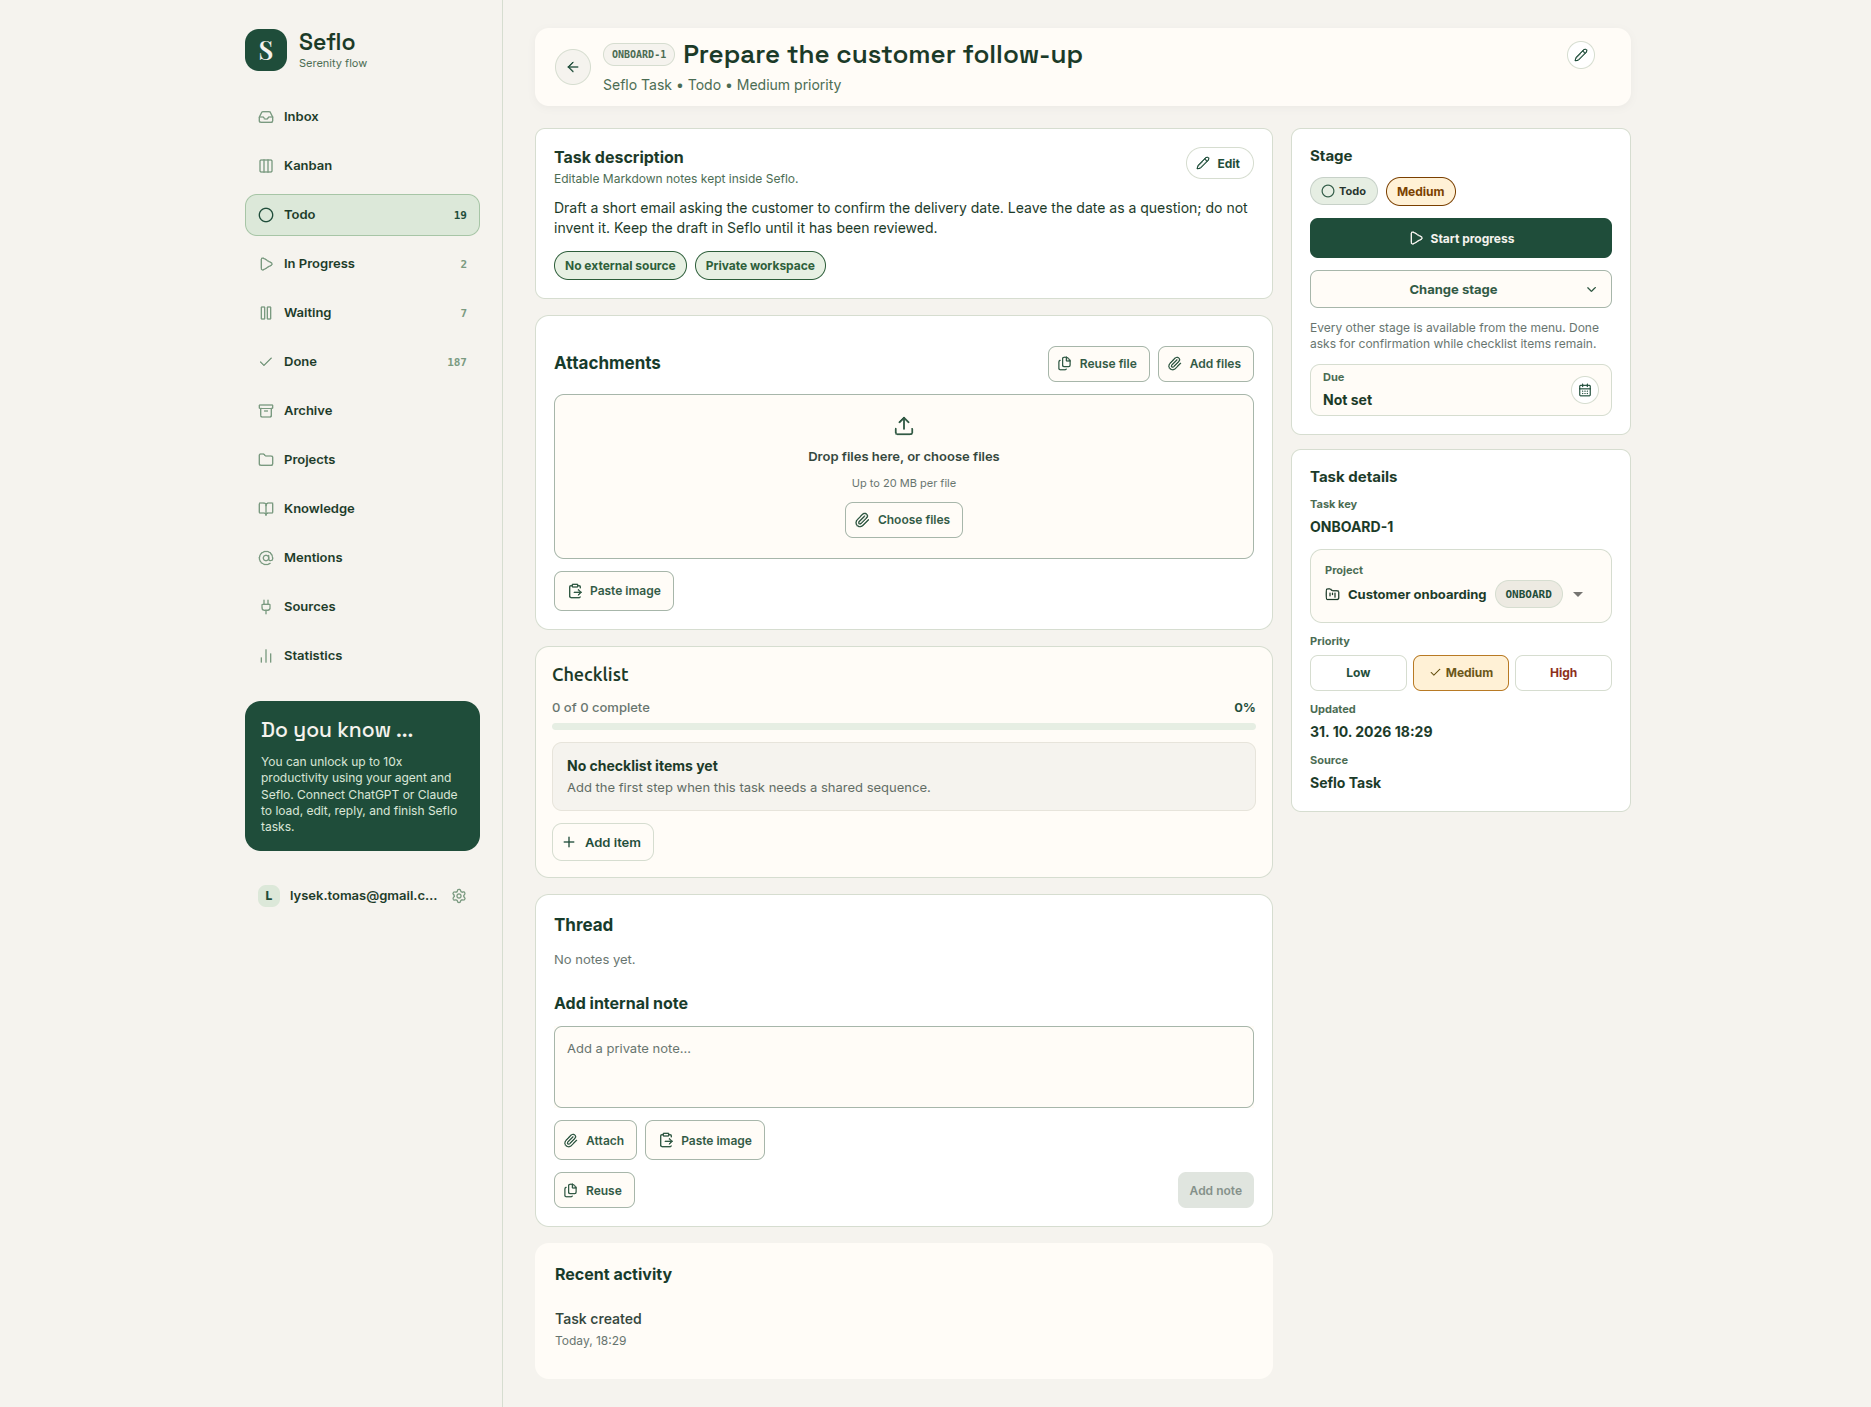
- Choose Create task and note its task code.
This creates a task inside Seflo. To send a reply into an existing source conversation, use a task linked to that conversation.
The example below selects the Customer onboarding project. This is optional; a task can also have no project.
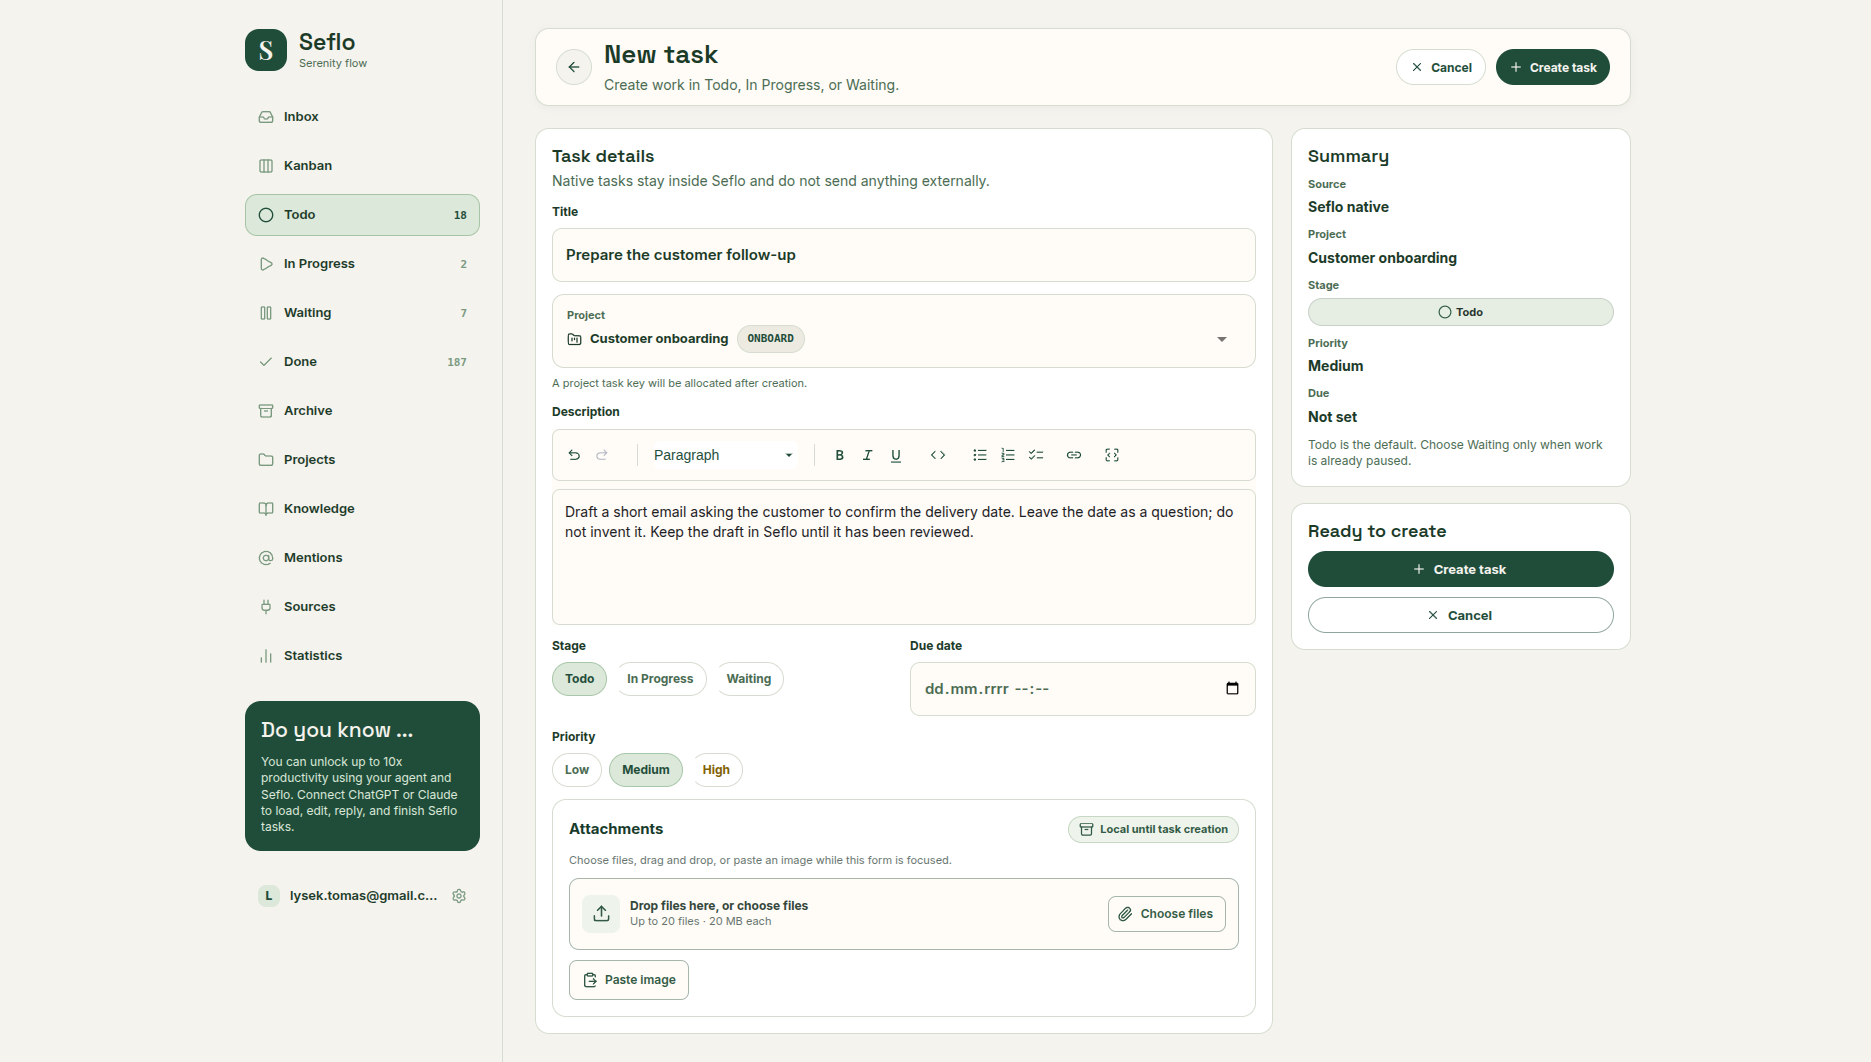
Keep the expected outcome in the description and leave unknown dates unset. Open full-size image.
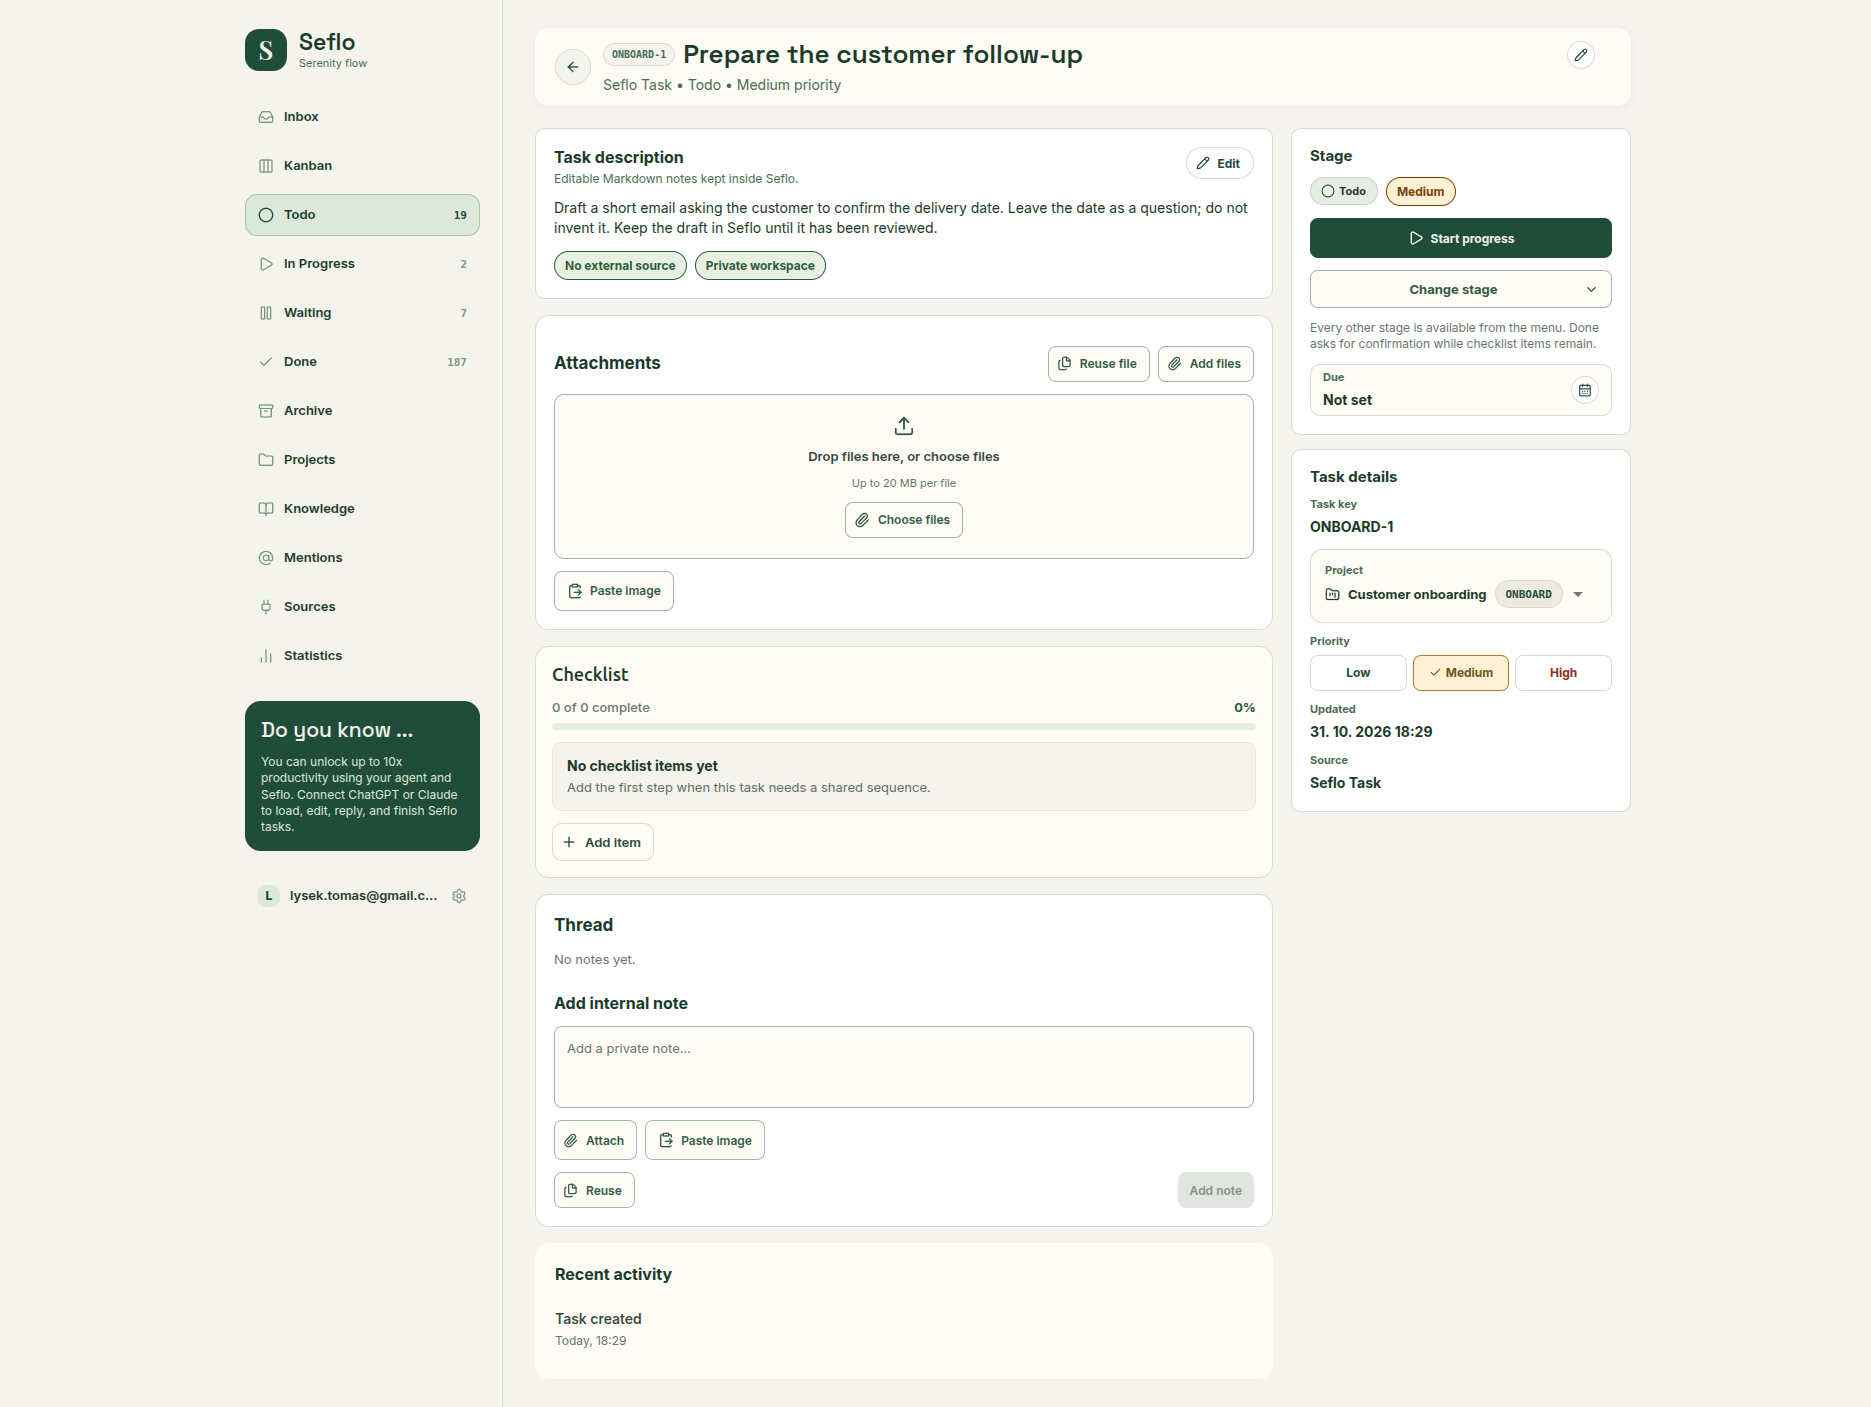
After saving, verify the task code, title and description. This example is ONBOARD-1 — Prepare the customer follow-up. Use your own code in AI prompts. Open full-size image.
Connect ChatGPT and prepare the result
- Follow ChatGPT on the web or ChatGPT desktop to connect Seflo.
- Start a conversation and select Seflo. Replace
S-123below with your task's actual code:
Open Seflo task S-123. Read the request and available source context.
Summarize what needs to be done and identify any missing information.
Prepare a reply for me to review. Do not send anything yet.- Check that the assistant found the intended task. If it finds several, choose the correct task before it continues.
- Read the draft. Ask for changes or supply missing facts. For files, inspect the actual output rather than relying on the assistant's summary.
Review and finish
For a source-linked task, ask the assistant to prepare the available reply action. Open the review in the conversation or follow its link to Seflo.
- Check the account, recipient or thread, reply text and selected files.
- Make corrections before confirming.
- Confirm the displayed action only when you want it performed.
- Check the result and task stage. If an operation is still running, check its status before trying again.
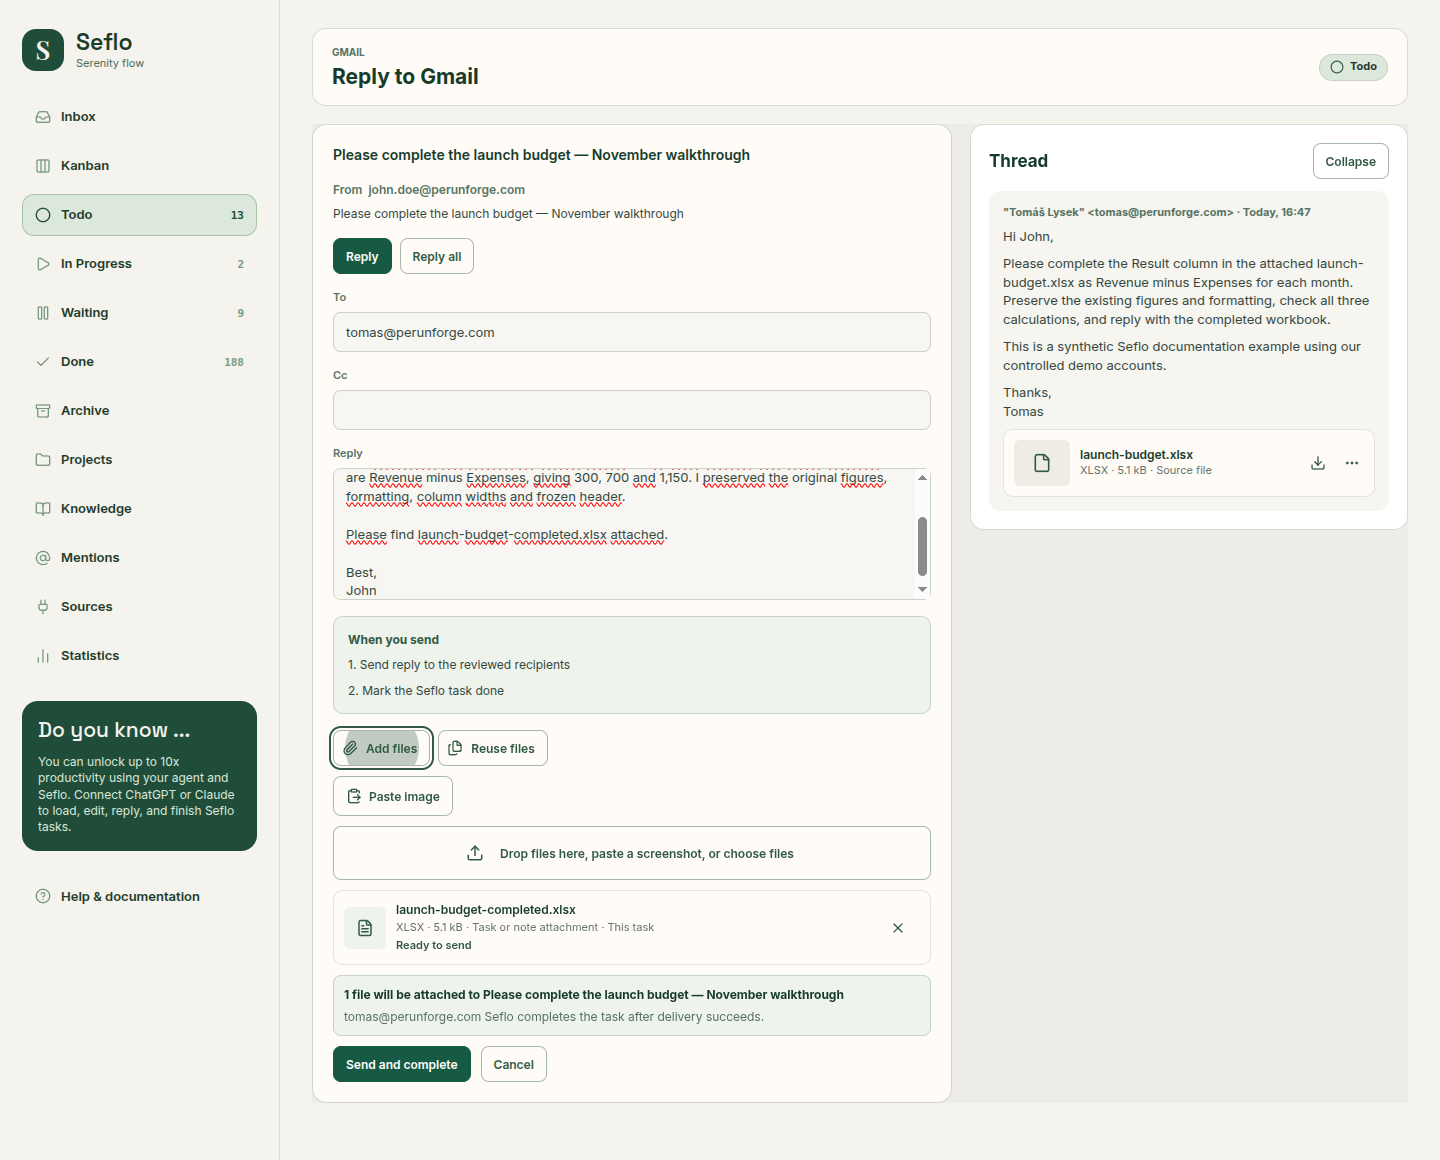
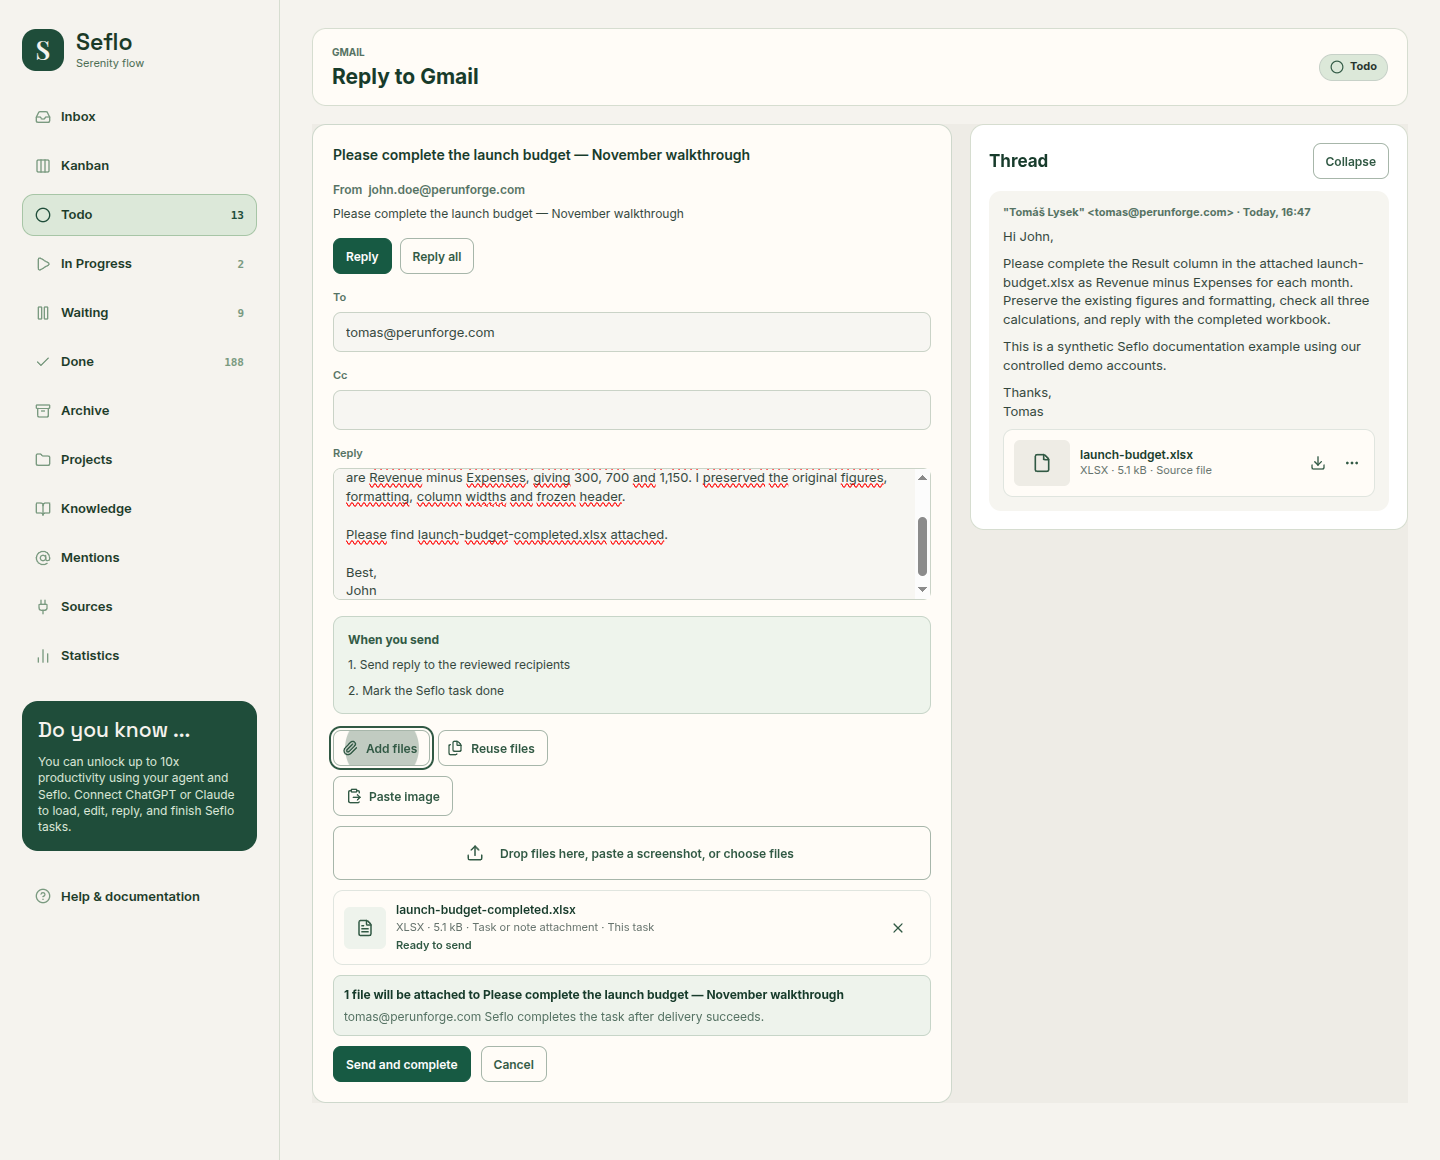
In this real demo, ChatGPT prepared a completed workbook. The review shows the recipient, attachment and the effect of sending. Download and inspect the file before confirming. Open full-size image.
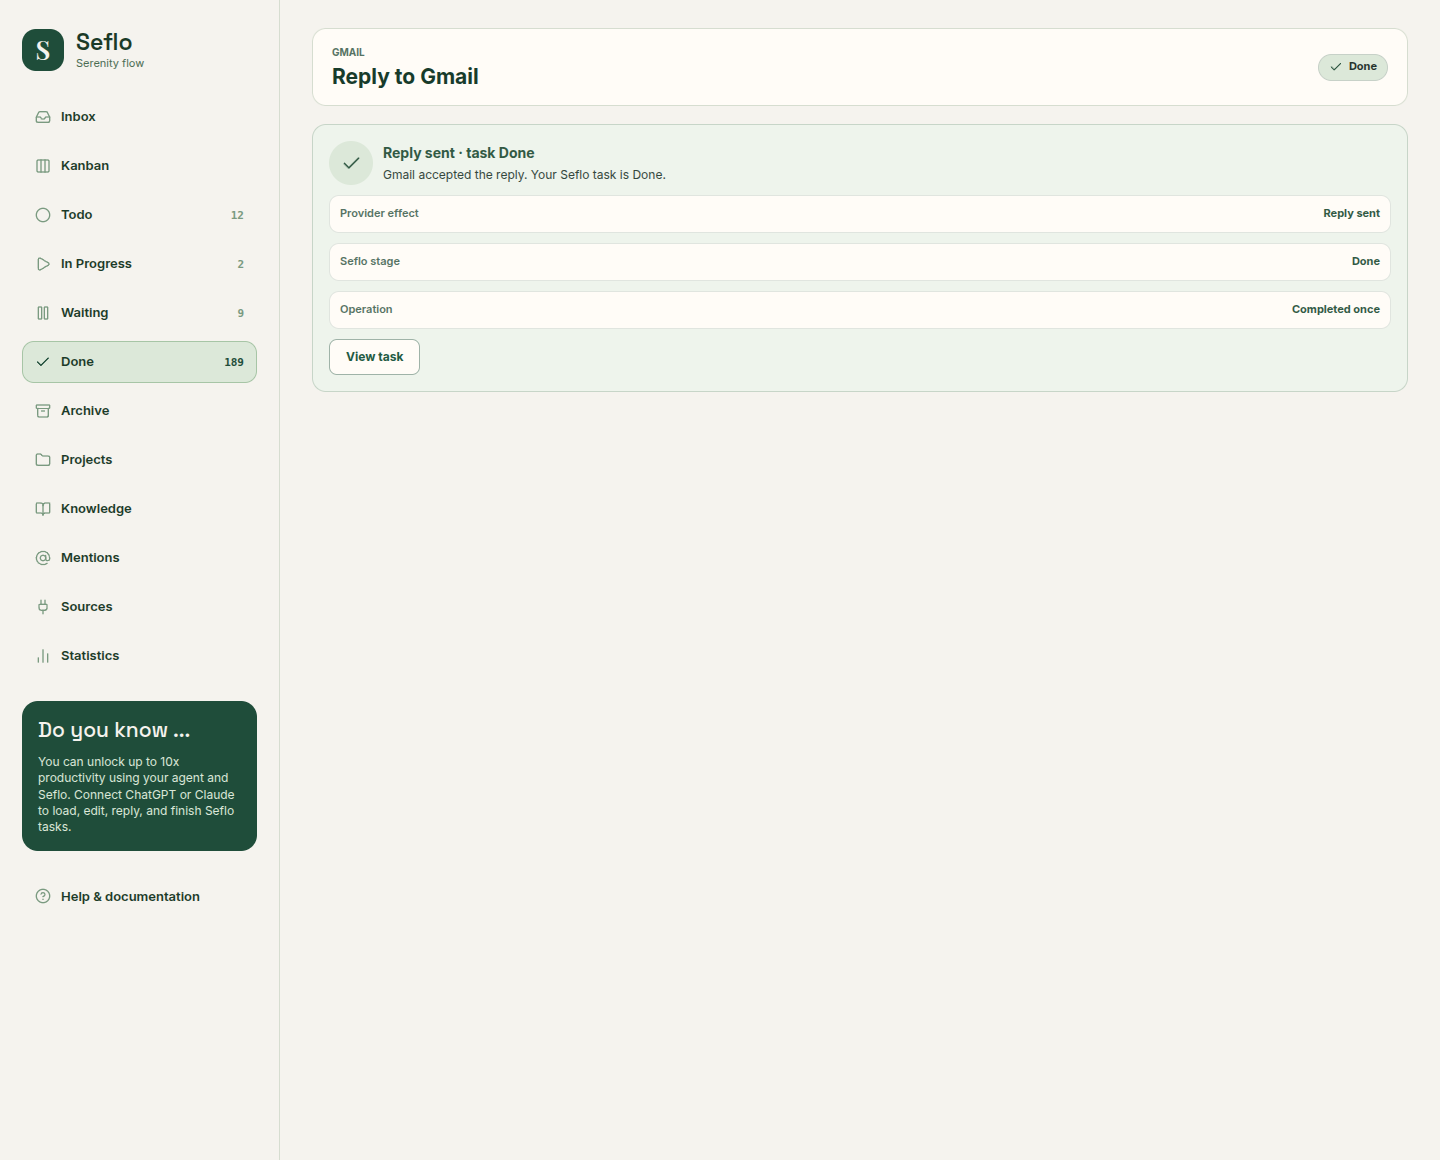
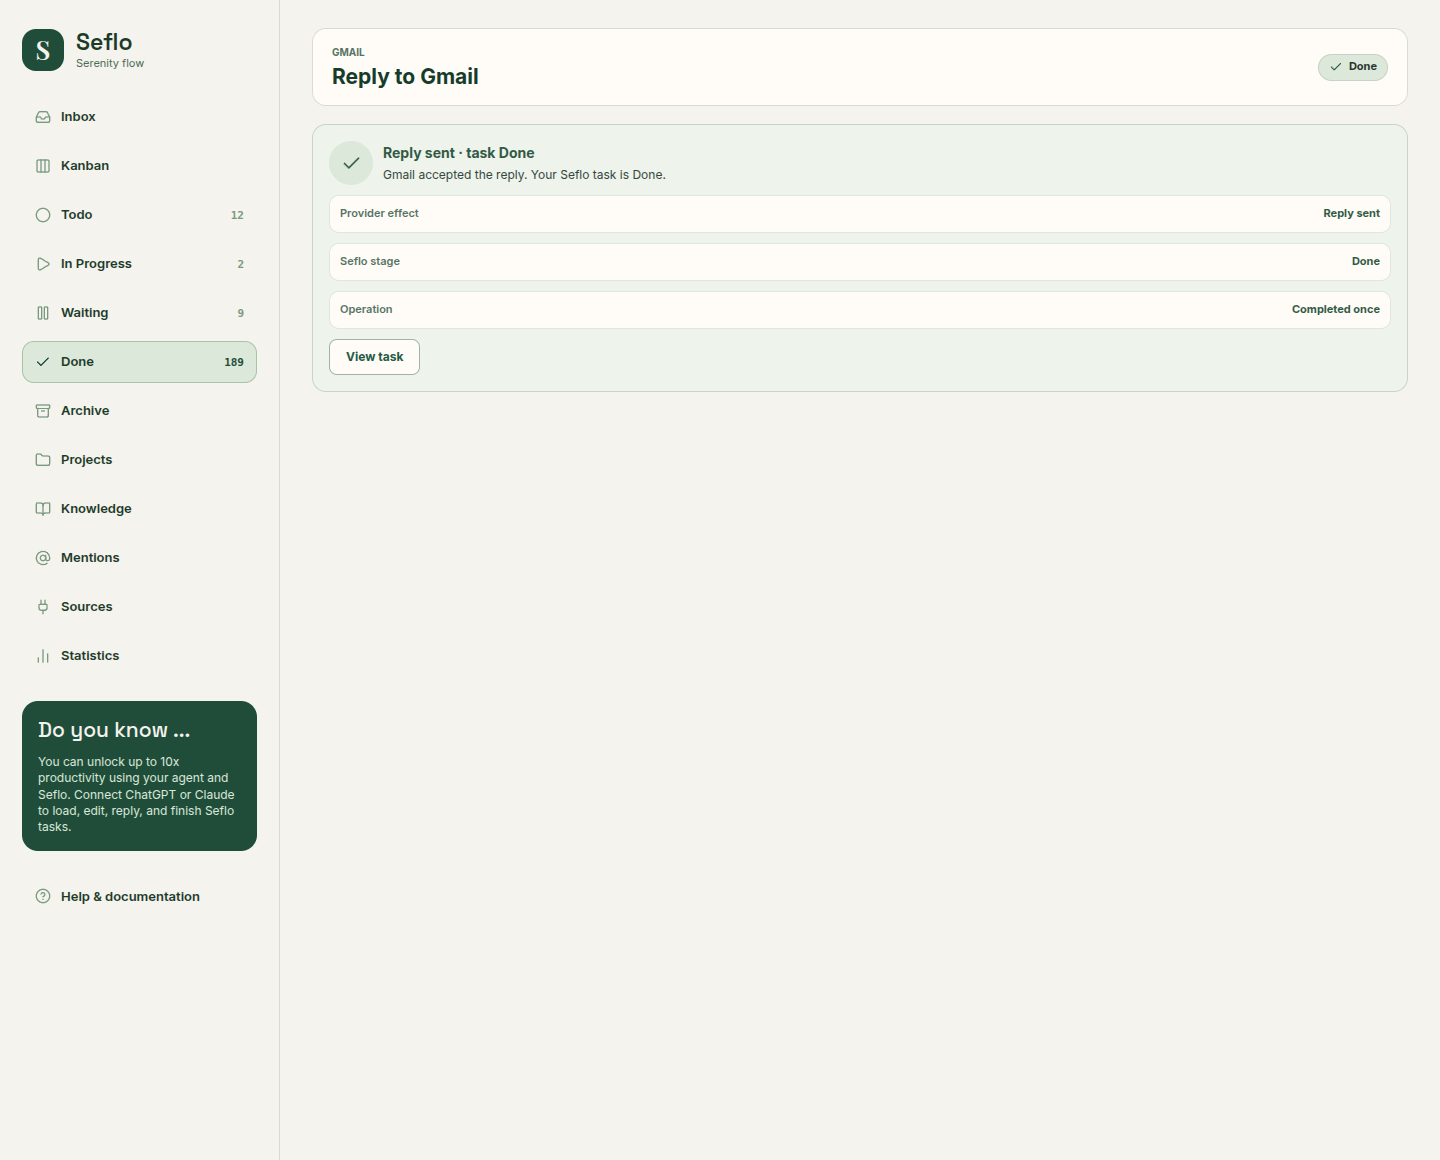
The confirmation appears after delivery succeeds. Open full-size image.
For a task created directly in Seflo, save the useful result in its notes or Knowledge and mark the task Done when the work is finished.
You have succeeded when the task contains the result and, if you confirmed a reply, the original conversation contains the intended message. See Review actions for the details.
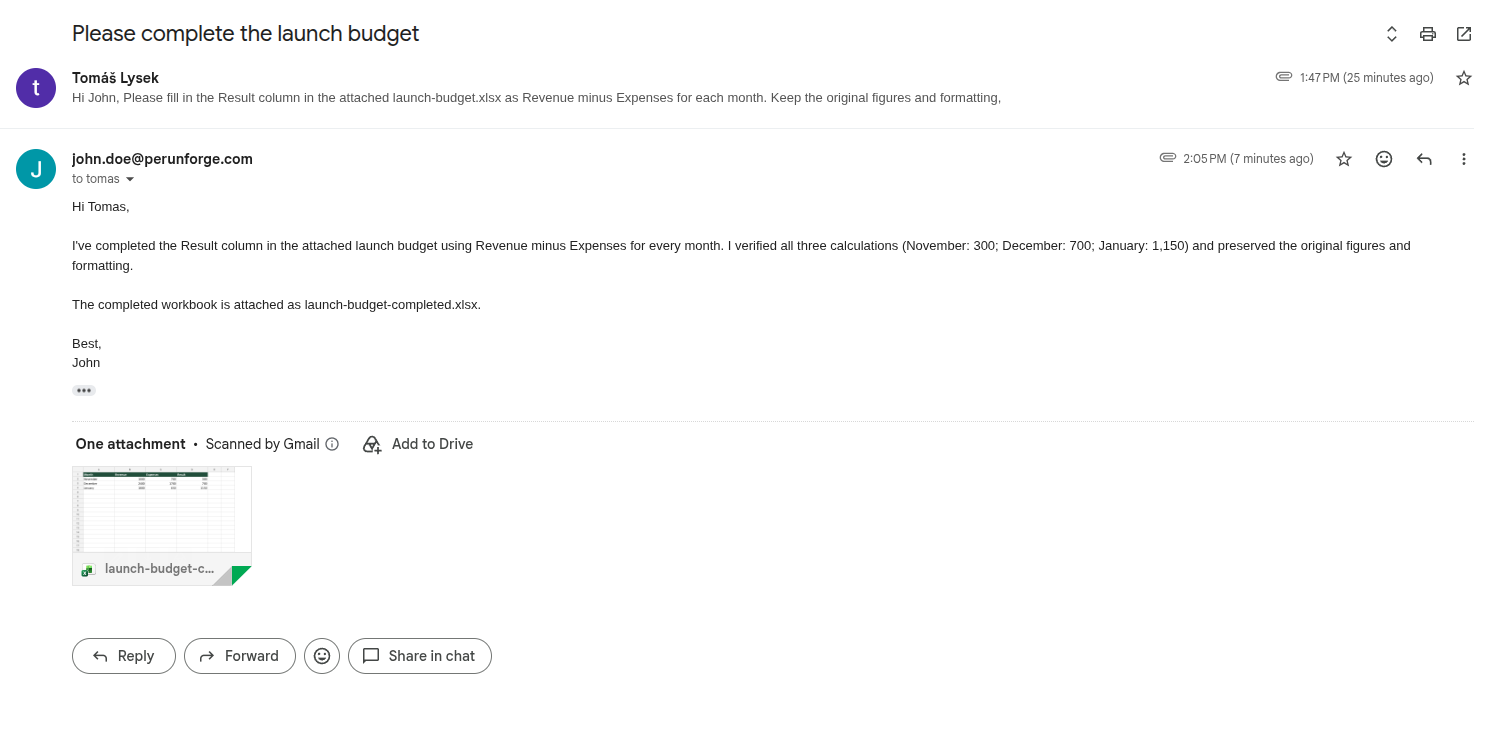
Check the source conversation as well as the Seflo confirmation. Open full-size image.
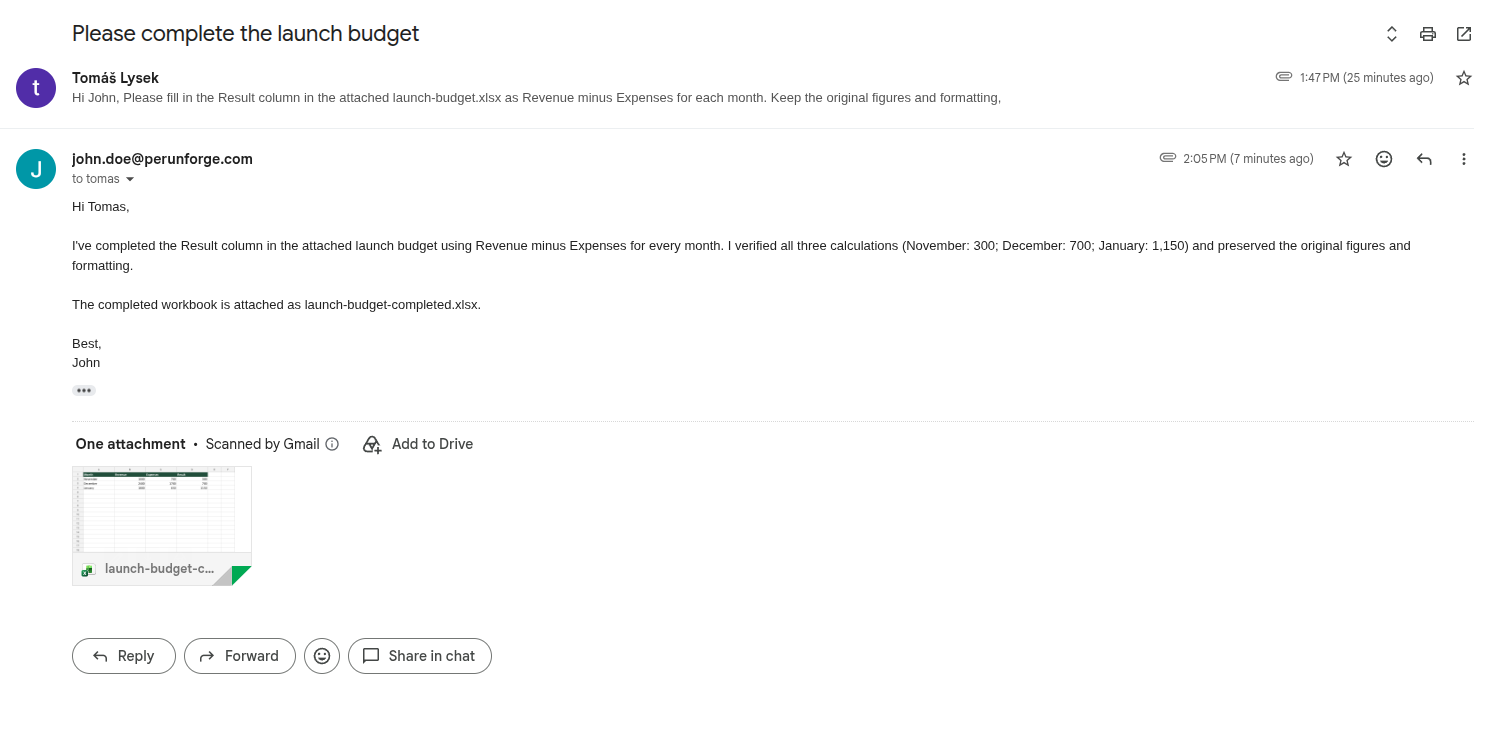
Watch: Your first result
Follow the verified Gmail and ChatGPT example from the original request through workbook checks and a reviewed reply. The guide above includes the sample file.
Watch the workflow
This product demo shows work organized through ChatGPT. It uses an installed private preview in the demo workspace. It is a usage example, not evidence of a public plugin listing; the setup guides distinguish verified connections from planned catalog installation.
Where to go next
Try email to completed work, a Teams message or a Mattermost message. If the assistant cannot see your task, check connection troubleshooting.
Find help while you work
Choose Help & documentation above your account in Seflo's left menu. On mobile, open the navigation menu and find it above Personal settings. Documentation opens in a new tab, leaving your current work in Seflo open.
On Add source, the Help & documentation link below the Setup checklist opens the source guide overview. For connection instructions, choose Setup guide on a source card or its setup and configuration pages. On Set up agent, each client card links to its own guide. You can also browse source guides and AI-client guides directly here.